🗨️WhatsApp business API
In this article, we will tell you how to connect the WhatsApp Business API (WABA) channel.
To connect, you will need:
Personal account Facebook*.
Access to a registered Facebook Business Manager account*.
A phone number connected to WhatsApp Business. The number must be active and able to receive calls and SMS.
Before connecting, make sure there are no issues with your Facebook advertising account*.
Preparation for connection
Before connecting WABA, check that your website meets Meta* requirements.
For successful verification, the website footer must contain:
A link to the privacy policy or personal data processing policy. It is important that there is a clause stating that you may send newsletters to clients and clients can unsubscribe from them. The wording may be different.
Example wording
The company has the right to send the user notifications about new products and services, special offers, and various events. The user can opt out of receiving messages by sending a letter to the company at [email protected] with the note «Unsubscribe from notifications».
The legal name of the company. It must match the one specified in the Meta* business portfolio in Facebook* Business Manager. A mismatch will result in account blocking.
Legal address. It must also match the one specified in the Meta* business portfolio in Facebook* Business Manager. A mismatch will result in account blocking.
Be sure to check all the points described above, otherwise your account may be blocked!
Connecting WhatsApp Business API
Step 1. Creating a Meta* for Developers account
Go to the Meta* for developers page.
In the top menu, click «Get Started».
Click «Continue».
Enter your phone number.
Enter the code from the SMS. Click «Continue».
Enter your email address.
Check the box to agree to receive newsletters and click «Send Email».
In the window that opens, enter the code sent to your email. Click «Continue».
In the next step, select «Developer».
Click «Complete Registration».
Step 2. Creating an application
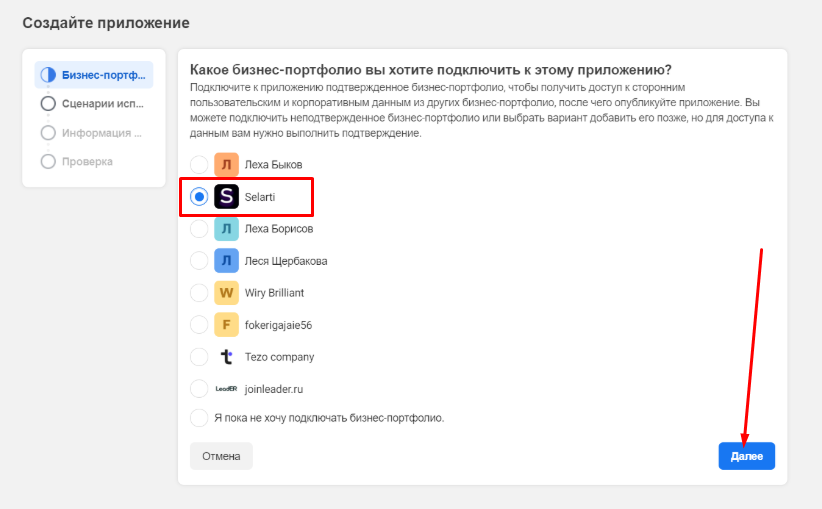
Go to the page. Select the business portfolio you want to connect the application to, click «Next».
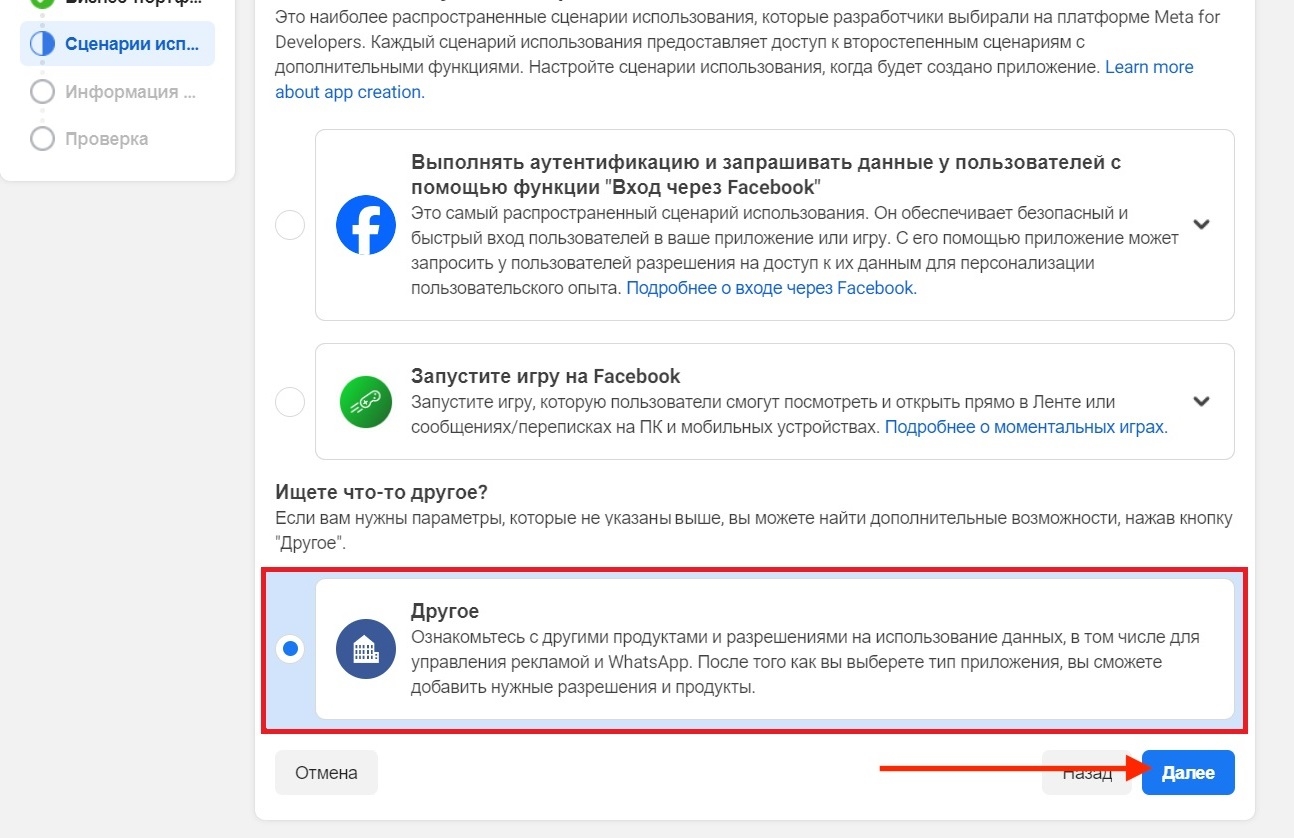
In the next step, select «Other» section and click «Next».
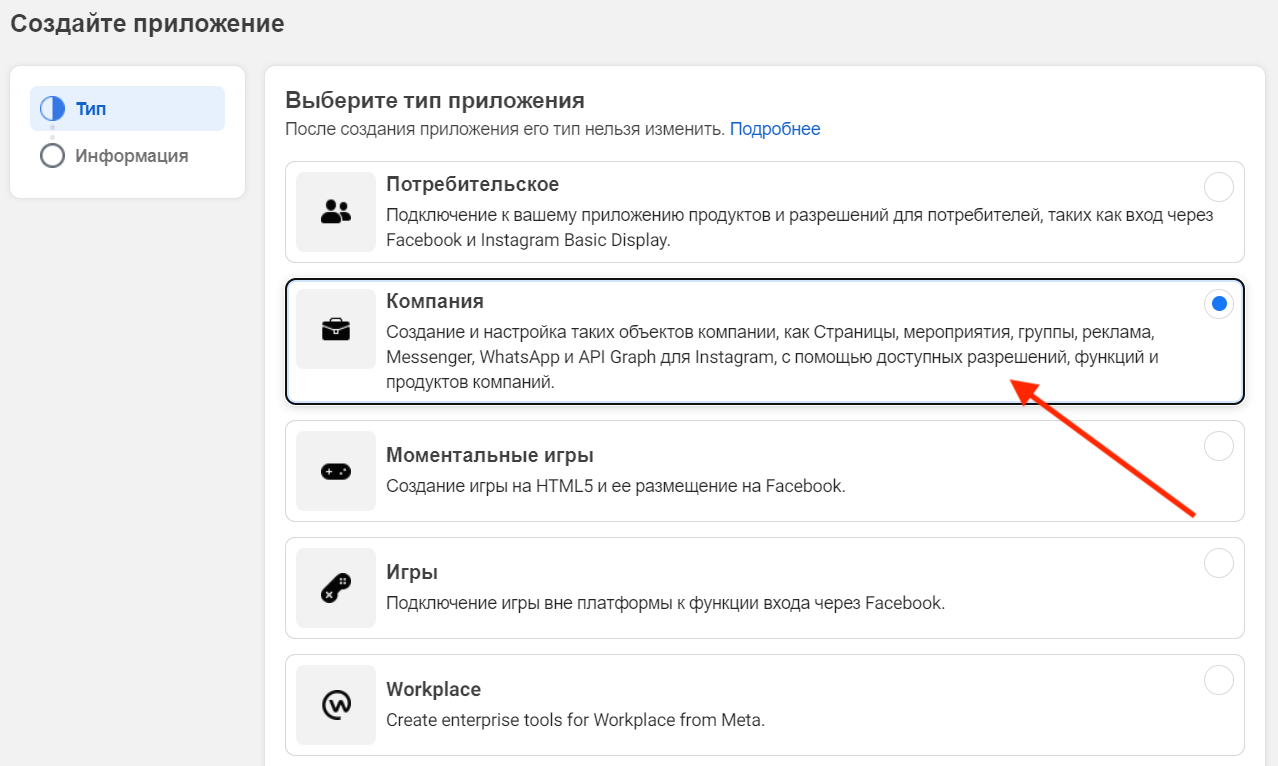
Then select the application type «Company».
Enter the application name and your contact email. Click «Create Application».

Step 3. Create a WhatsApp account
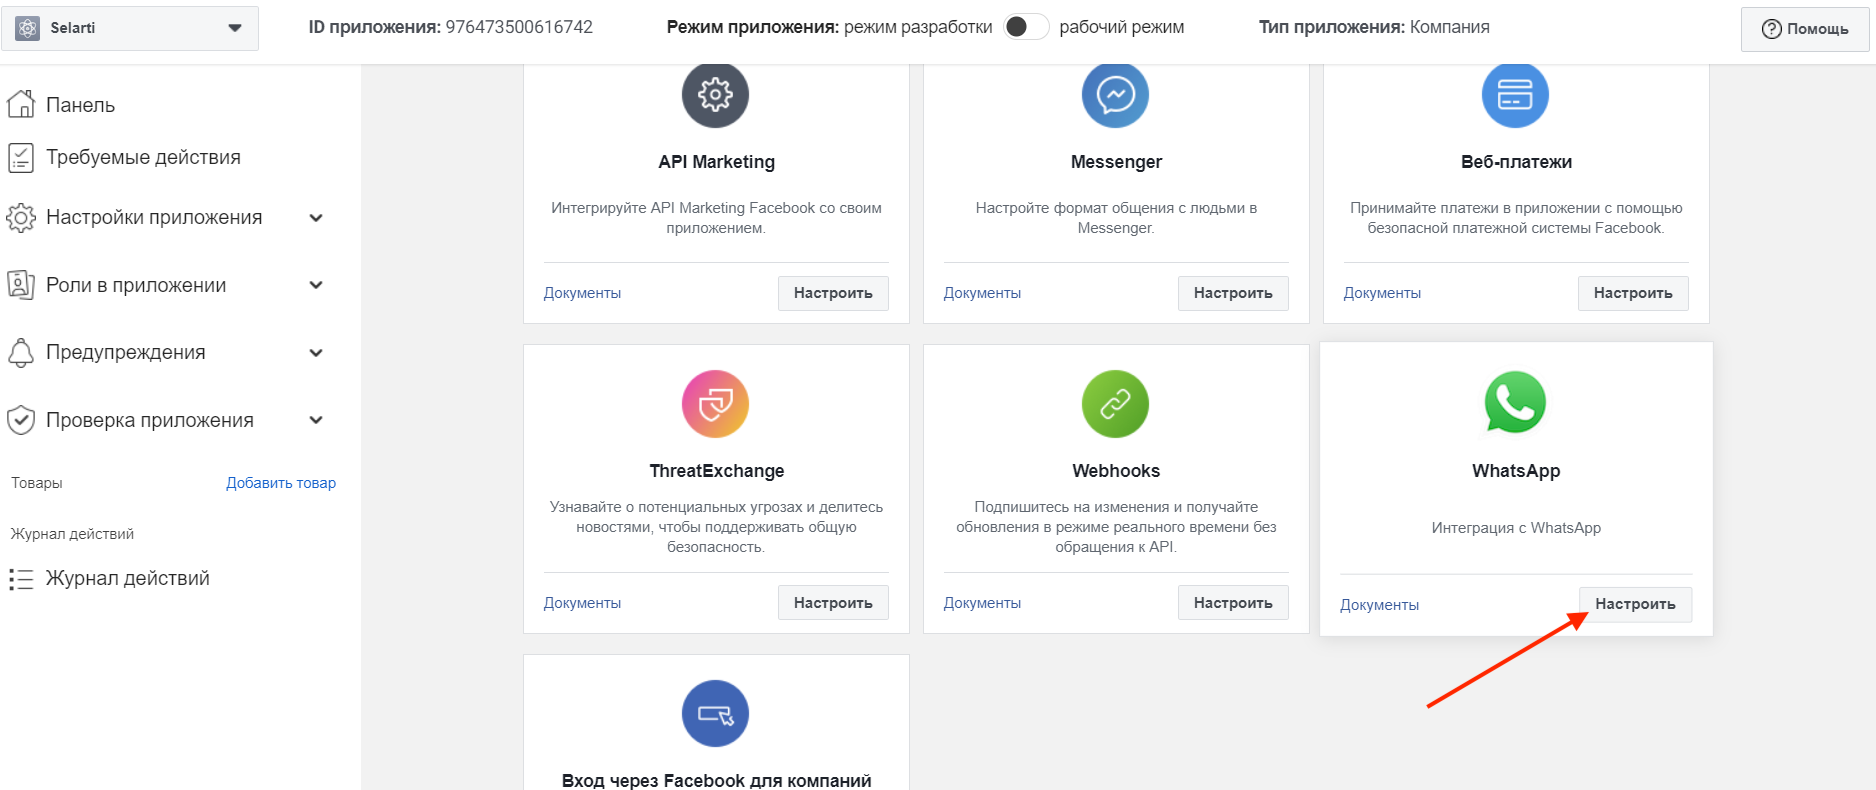
In the list of applications, find WhatsApp and click «Set Up».
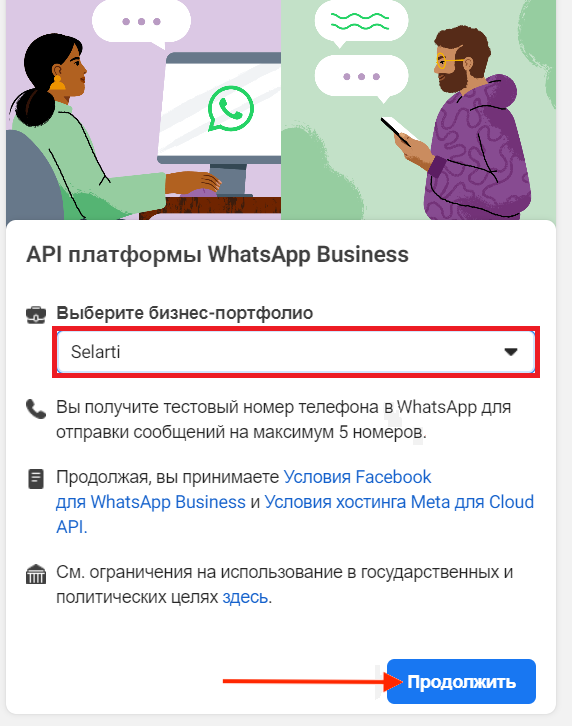
In the drop-down list, select the business portfolio and click «Continue».
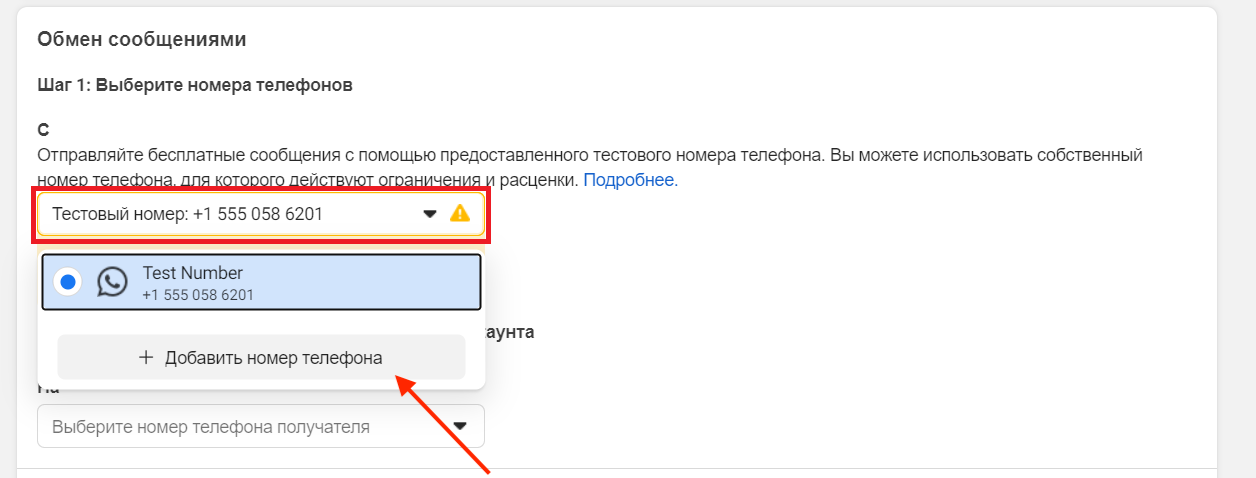
In the opened settings, in the «Messaging»section, click the drop-down list with numbers and select «+ Add phone number».
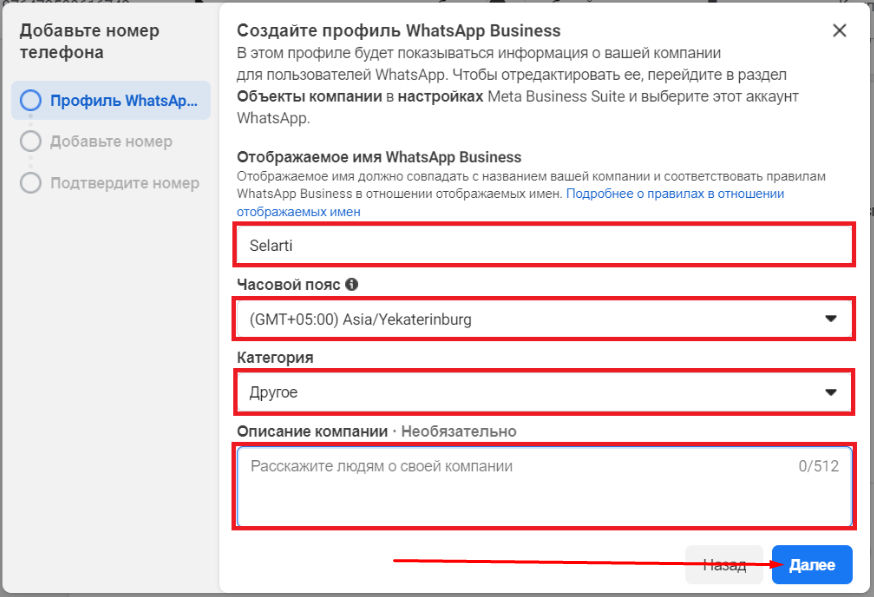
To add a number, enter the display name, select the time zone and category, optionally add a company description, then click «Next».
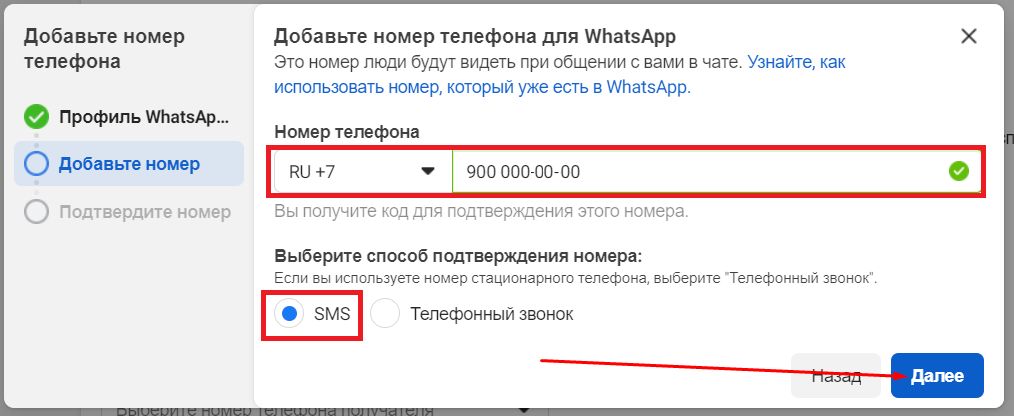
Enter the phone number, select SMS verification, and click «Next».
If you see the error «This number is registered to an existing WhatsApp account…», use another number or delete the WhatsApp account linked to this phone number.
Enter the verification code from the SMS and click «Next».
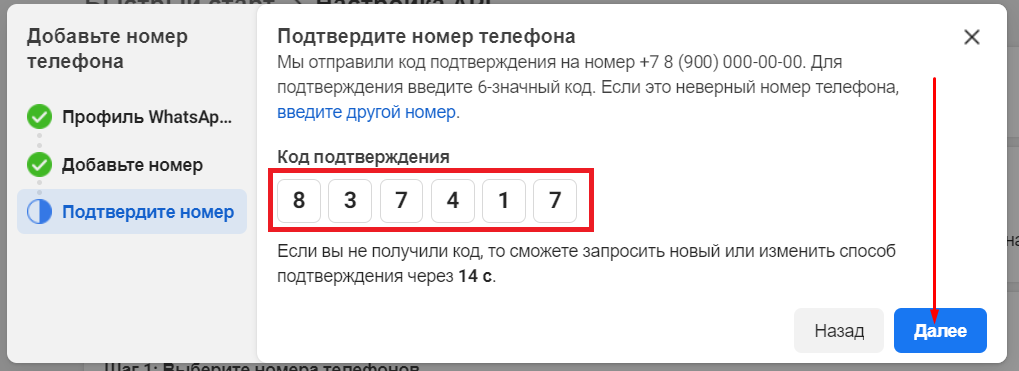
After adding the number, save the phone number ID and account ID, you will need them when setting up in your Selarti personal account.

Step 4. Connecting the Webhook
In your Meta* for Developers personal account, in the upper right corner, go to the «My Apps».
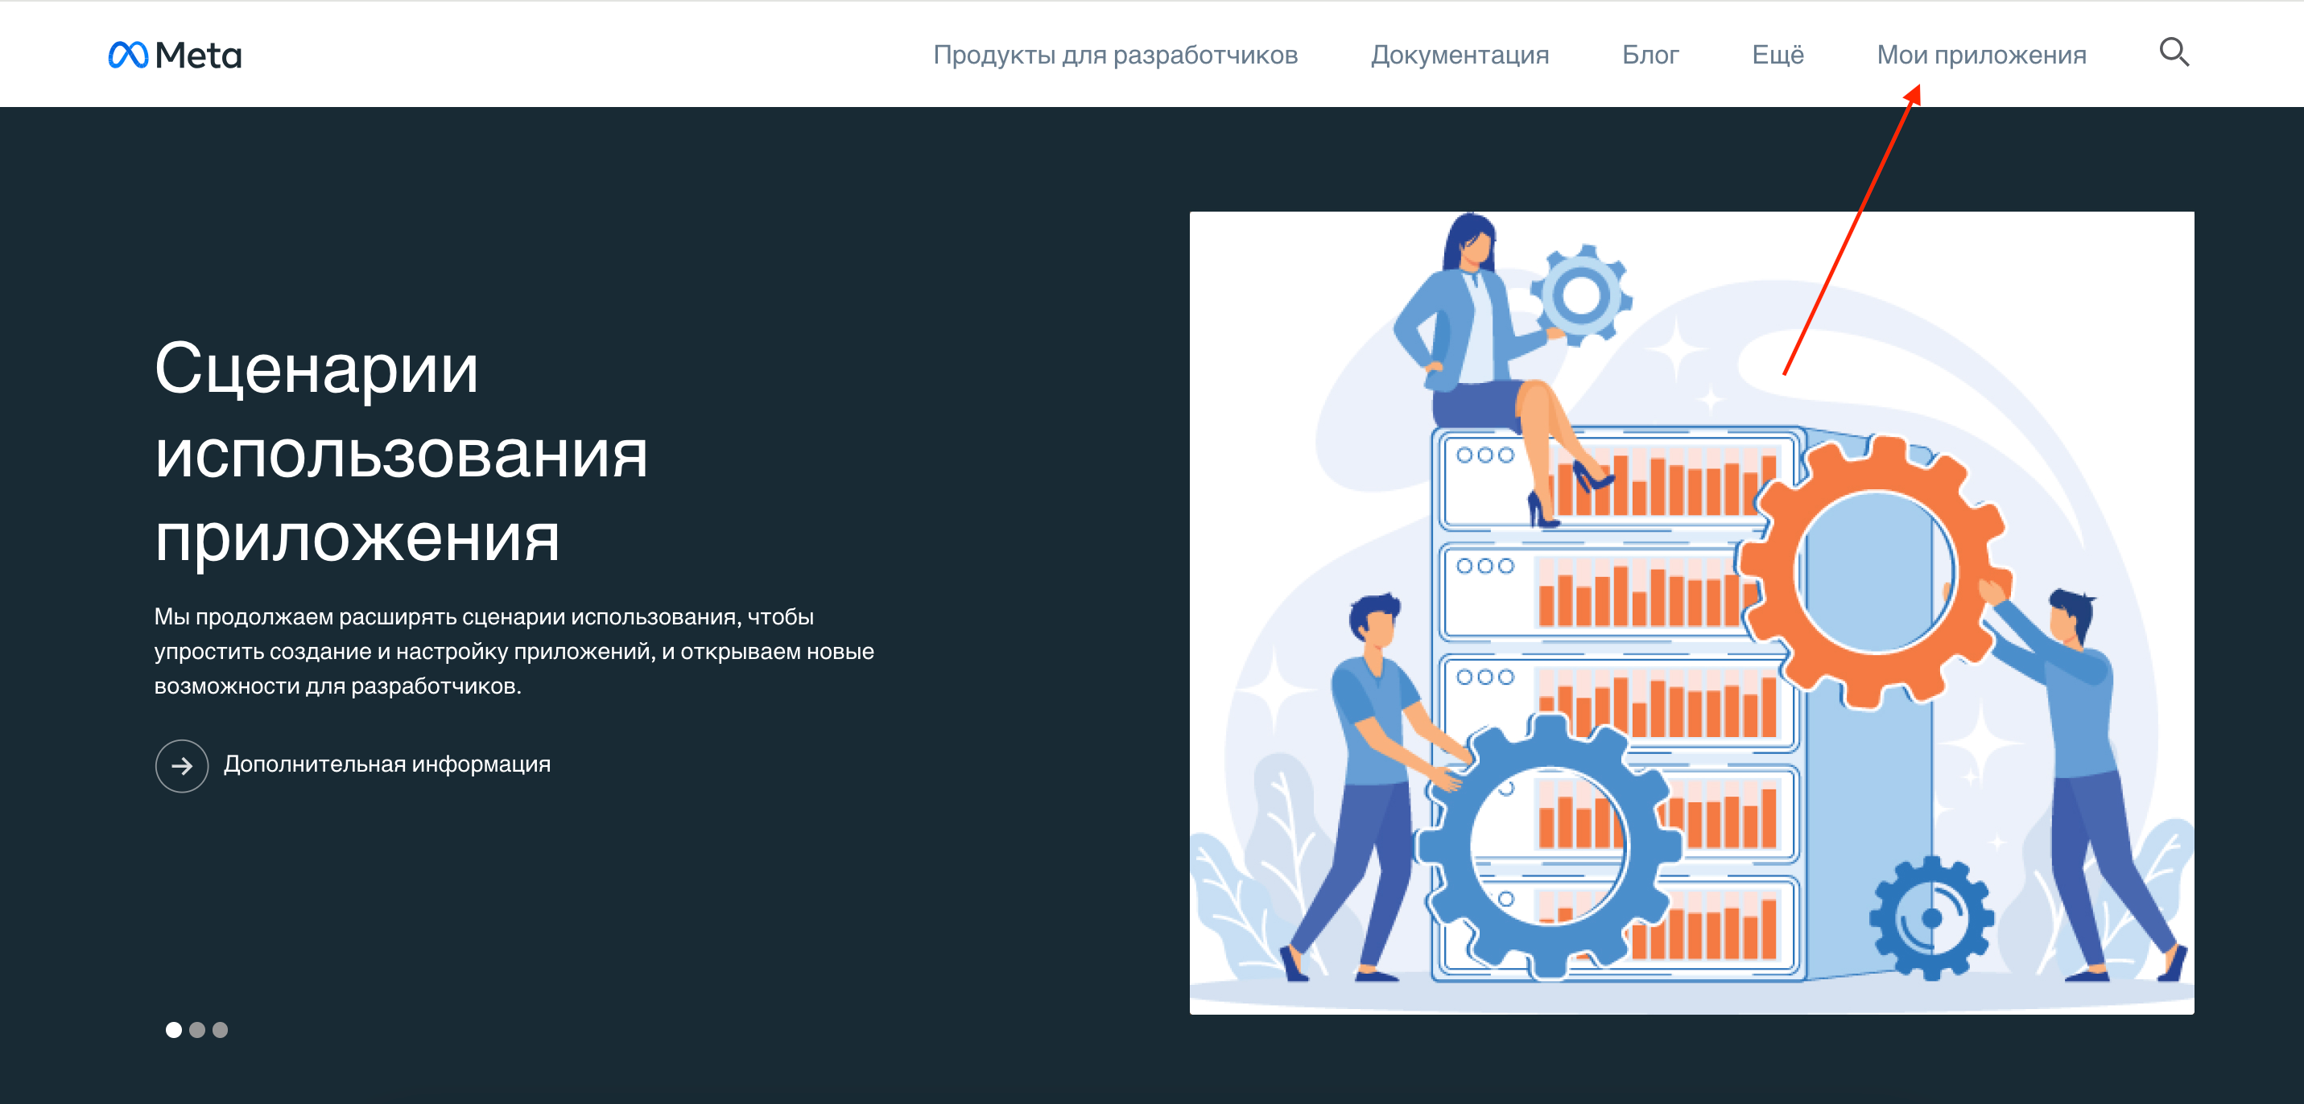
Select the created application.
On the left, go to WhatsApp > Setup. In the «Webhook» section, click «Edit».
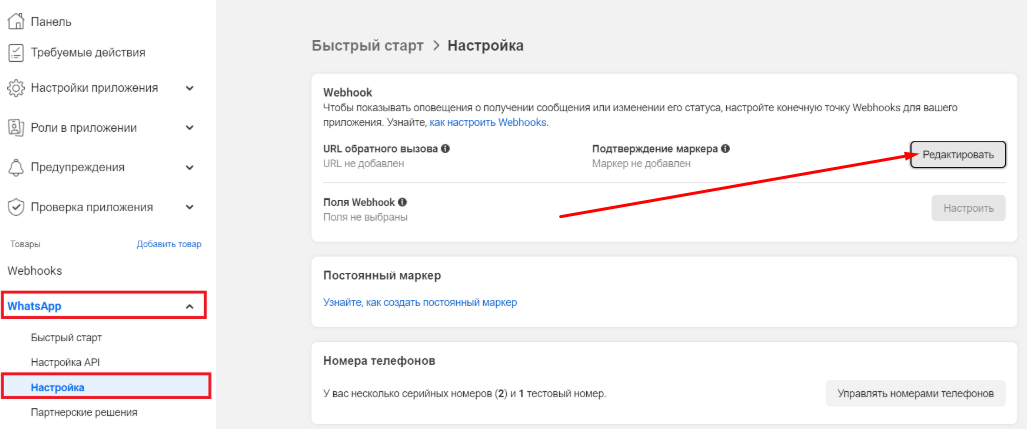
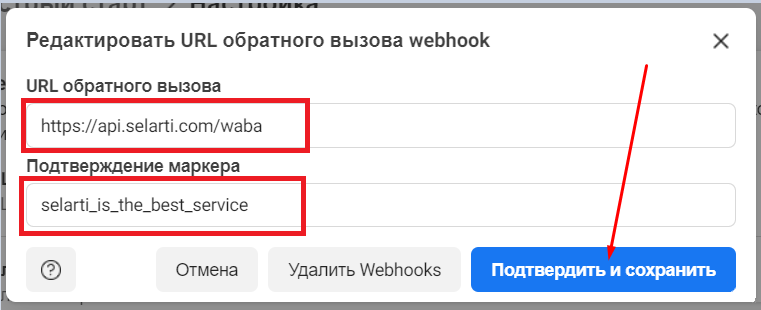
Fill out the form:
In the «Callback URL» field, paste the link: https://api.selarti.com/waba.
In the «Verify Token» field, enter: selarti_is_the_best_service.
Click «Verify and Save».
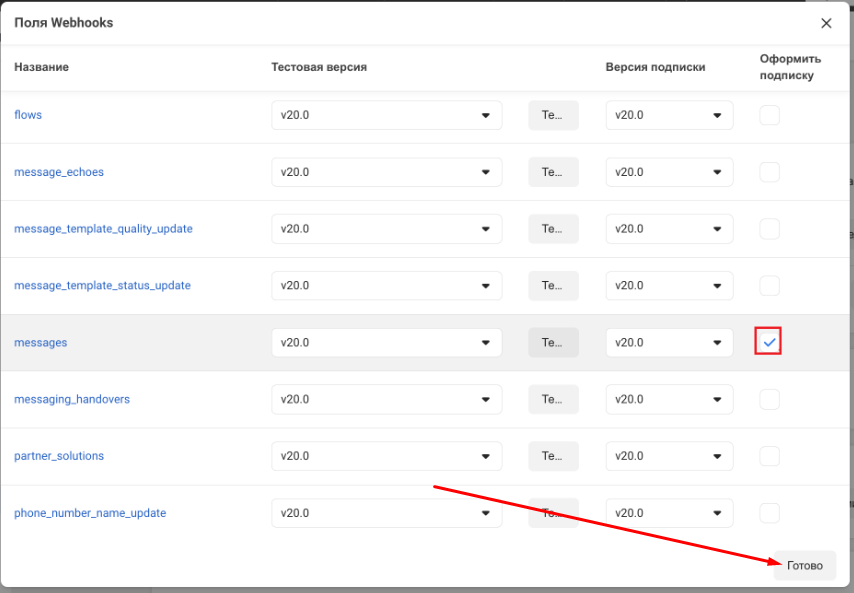
In the same section, click «Set Up» to edit the Webhook fields.

In the opened window, check the box next to «messages», then click «Done».
Step 5. Creating a system user
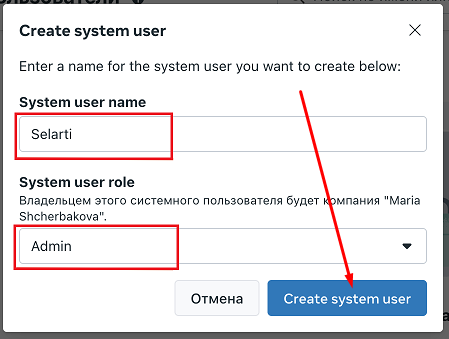
In the section «Company settings» go to Users > System Users section and click «Add».

Enter the system user's name, select the role from the drop-down list «Admin» section and click «Create system user».
Step 6. Creating an access token
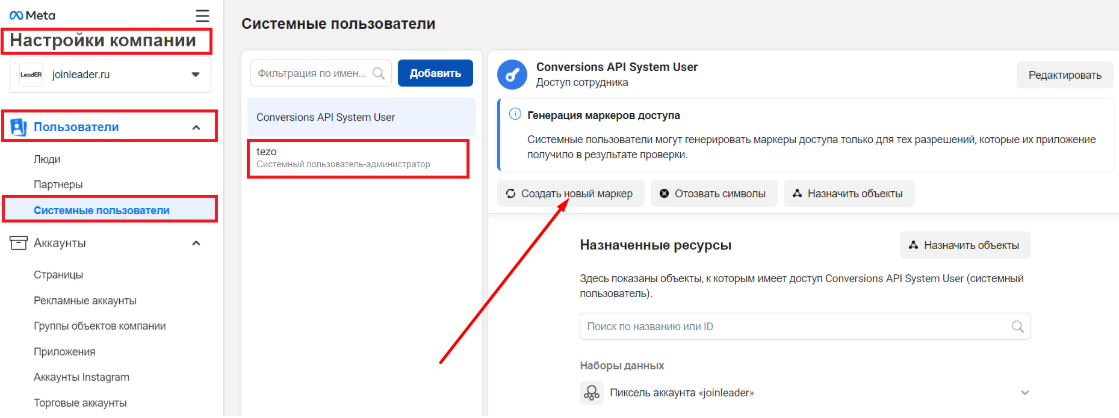
In the section «Company settings» go to Users > System Users. Select the previously created user and click «Create new token».
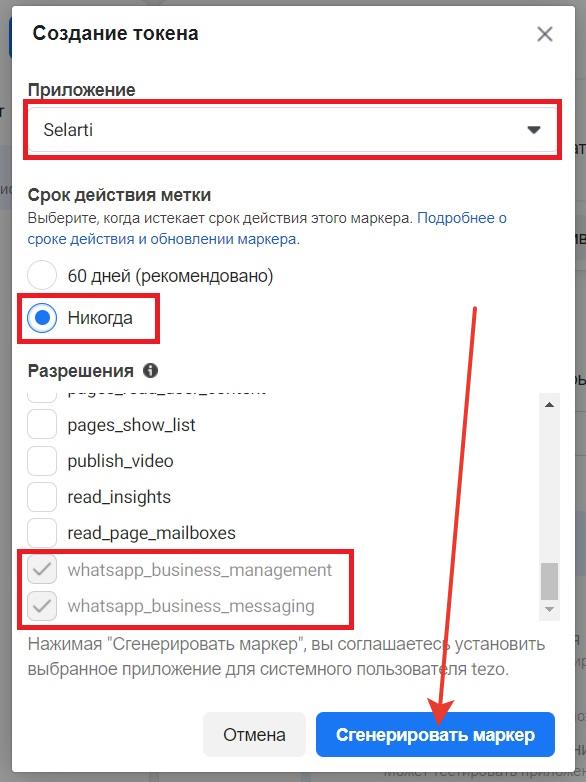
Select the application from the drop-down list, token expiration, and permissions:
whatsapp_business_management.
whatsapp_business_messaging.
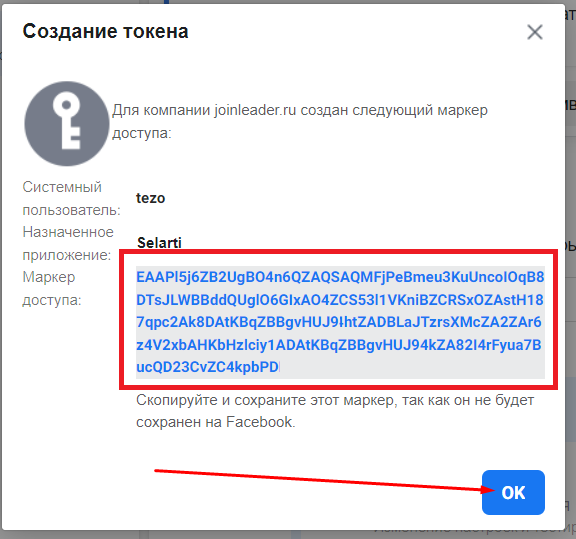
Click «Generate Token».
A window with the token will open. Copy it and click «OK».
Step 7. Connecting payment
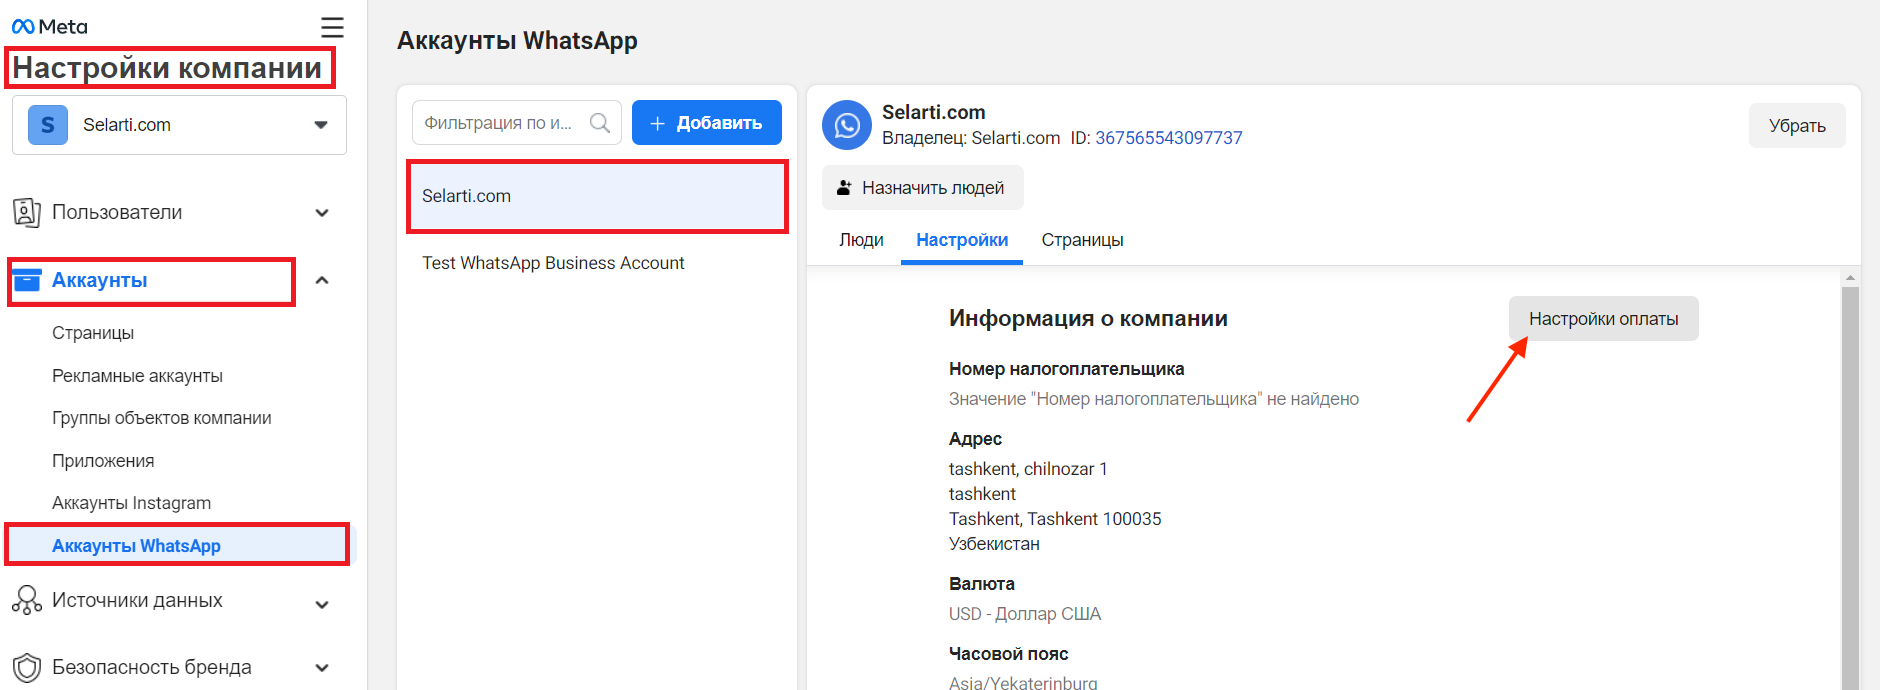
In the company settings go to Accounts > WhatsApp Accounts. Select the desired account from the list and click «Payment Settings».
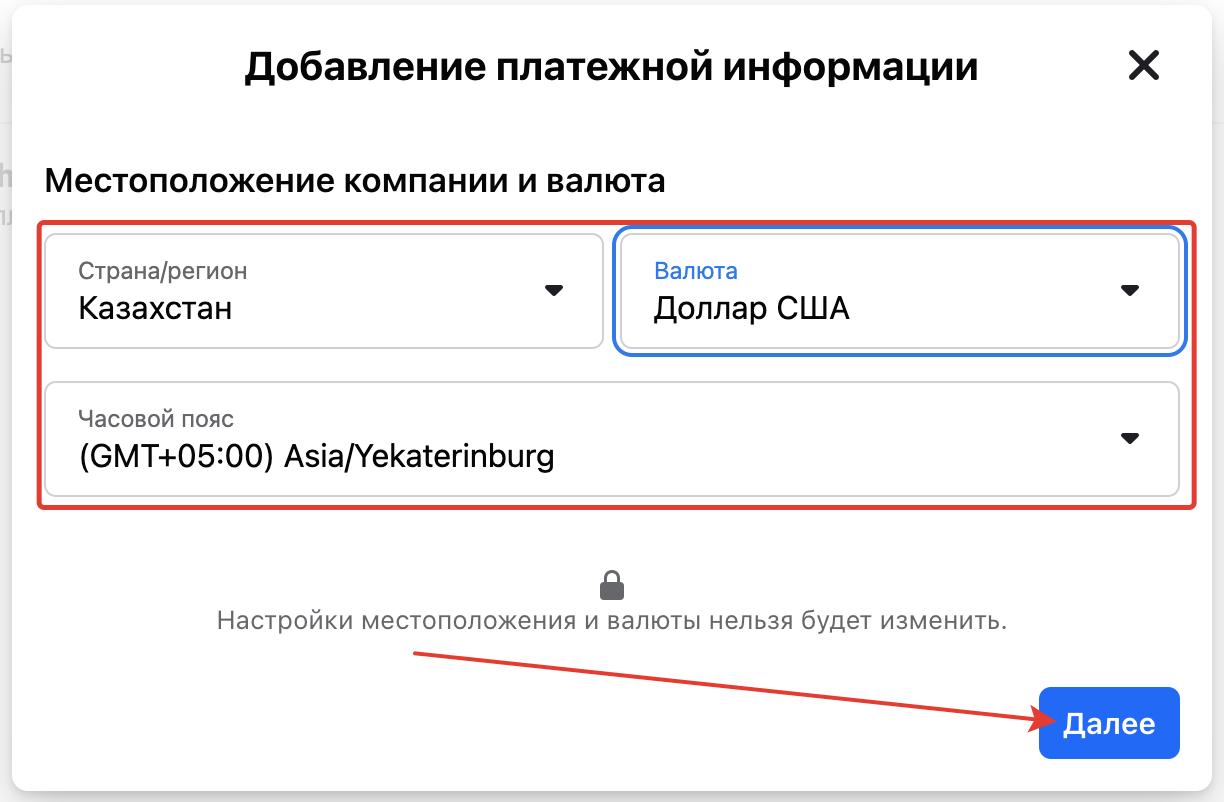
Select the country, currency, and time zone, click «Next».
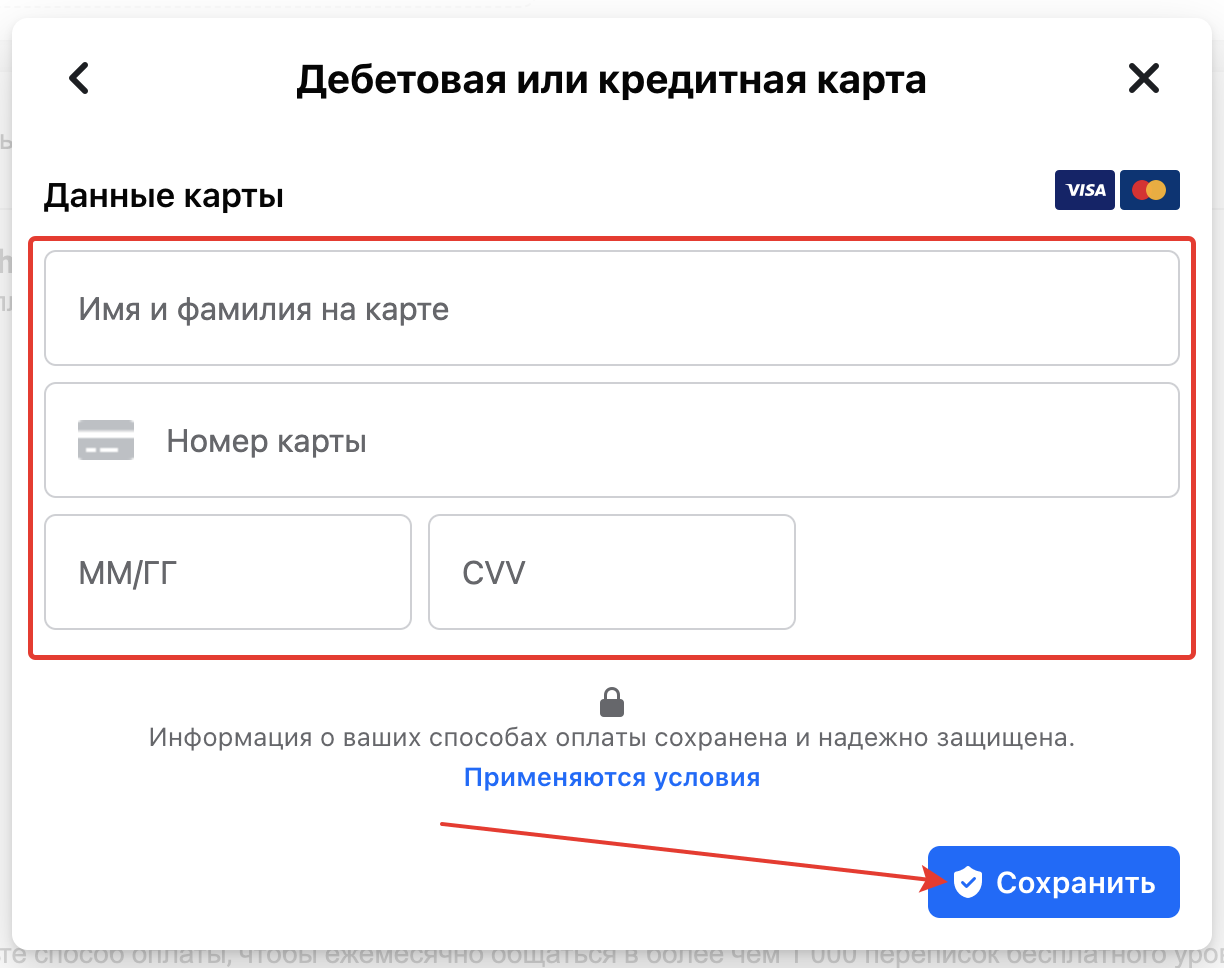
Enter card details, click «Save».
Connecting WhatsApp business API in the Selarti dashboard
Open your Selarti dashboard, go to the «Channels» section and click «Add channel».

In the drop-down menu, select the channel type «WhatsApp business API» and fill in the fields:
Service user access token — token marker from step 6.
WhatsApp phone ID — phone number ID from step 3.
WhatsApp Business ID — account ID from step 3.
Click «Get Template».

Select a template in the field «Select template»— for incoming only, you can select the hello_world template.
For outgoing, you need to create a separate template in your personal account Meta* for developers page.
After selecting a template, click «Add channel».

*Facebook is owned by Meta*, which is recognized as an extremist organization in the Russian Federation.
Last updated